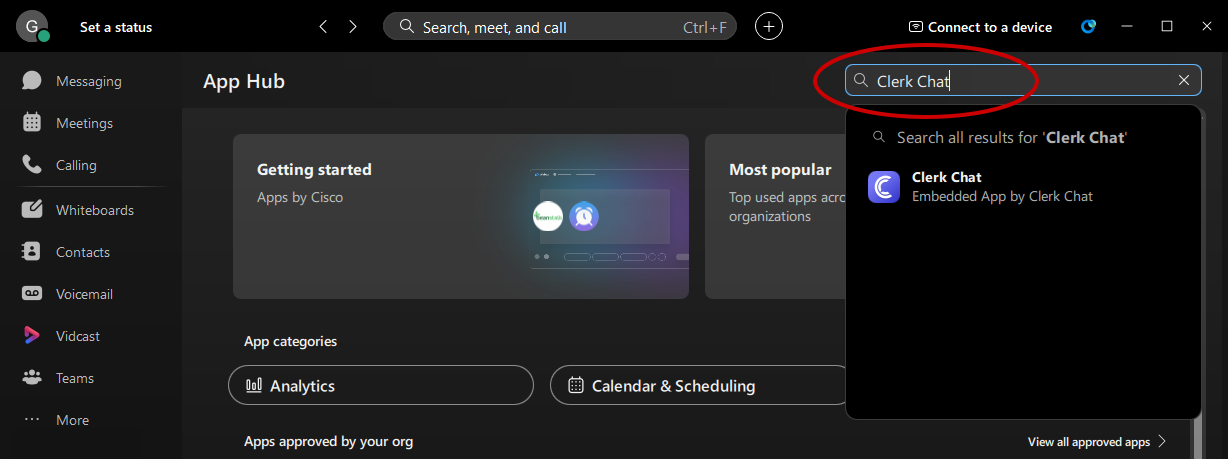
Adding from the App Hub
- Open the Webex desktop app.
- Click “… More” in the left-side column.
- Select “App Hub” from the menu.
- Type “Clerk Chat” in the App Hub search bar.

- Select “Clerk Chat” in the search result list.
Move Clerk Chat to the Webex Side Bar
- Click “… More” in the left-side column.
- Select “Manage sidebar” from the menu. The Settings dialog box will appear.
- If Clerk Chat is not visible in the right-hand list, click on “… More” to expand the list.
- Drag and drop Clerk Chat up above “… More”. You can move this to where you want it listed on the sidebar.
Sign into Clerk Chat
The first time you use Clerk Chat in Webex, you will be asked to sign in. Select “Continue with Webex” and enter the same email address and password tied to your Webex account.